I Built a Television Studio. Here’s How I Did It
By: Seth Resler
Jacobs Media Strategies


I am a big believer that if you are a media company today, you must be a multimedia company. Yes, you can have a primary medium — CNN is primarily video, The Washington Post is primarily text, and NPR is primarily audio — but you must produce more than simply one form of media to thrive. This is a central to the idea of “meeting the audience where they are.”
Which is why I spent the better part of the pandemic dabbling in video production. I have a podcast called The D Brief that I use as my sandbox — it’s where I teach myself new techniques that I can then pass on to my consulting clients. For several years, this podcast was audio only; but a few years ago, I decided I wanted to learn how to produce it as a video series as well. After all, the tools to do so have become relatively inexpensive.
I was inspired in no small part by my friend Shawn Tempesta, who while hosting afternoon drive in Las Vegas taught himself how to produce an impressive show on Twitch called Free4All:
My setup is different that Shawn’s because we’re producing two different types of shows — his is a game show driven by a regular cast of characters who are in other locations, mine is an interview show in which the guest is present in the same studio — but it goes to show that there is more than one way to skin a cat.
For those of you who have been contemplating a similar venture, here’s how I did it:
1. The Camera
There are several factors to consider when selecting a camera. After you’ve determined your budget, you will want to figure out how you are going to use the camera. Will you be filming in situations where there is not a lot of light? Will the camera always be in the same place or do you want it to be mobile? If the camera is stationary, do you want it to be able to pan, tilt, and zoom so that it can film different things — such as a wide shot for an interview but a close-up shot to see a product? Once you know how you’re going to use the camera, you can make a list of features that will be important to you, such as image stabilization, low light performance and battery life.
Once you’ve figured that out, you will need to decide what type of camera you want — a mirrorless camera, a webcam or a DSLR. You will also need to decide if you want a camera that can pan, tilt or zoom (PTZ) on its own.
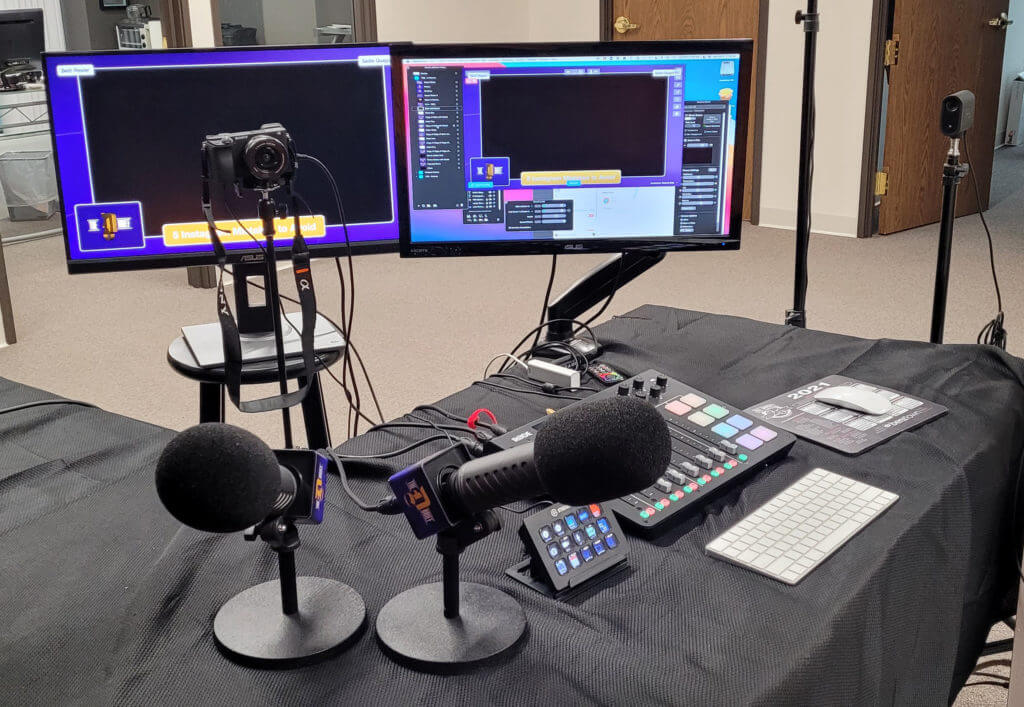
I built a studio for interviews, so my camera is always in the same place. I spent a good deal of time researching the options before ultimately settling on the Sony A6400, but that doesn’t mean this is the right choice for everyone. I closely considered the Sony a7 III and the Canon EOS M50 Mark II, but if you want to film on the go, you may decide on the GoPro Hero, and if you’re on a budget, the Logitech c922 webcam may get the job done.
I purchased an Elgato Cam Link 4K to enable me to connect the Sony camera to my computer.
I also use a second camera: a Mevo Start. While the picture quality isn’t as good as the Canon, it’s very portable and easy to use on location. It also comes with an app that makes it easy to frame multiple shots, allowing me to replicate some but not all of the functionality of a PTZ camera.
2. The Audio
In my experience, the hardest thing about video is audio. After years of podcasting, I had a setup that sounded great — but it wasn’t pretty. It required us all to sit in the center of a room with hardware and cables sprawling all over the place. Now that I wanted to be on camera, I had to move the setup in ways that could negatively impact the sound. For example, I needed my guest and I to sit in front of a wall to frame the shot properly, and this runs the risk of echo as the sound bounces off the untreated walls.
The first step was to build sound panels following this tutorial from Ray Ortega:
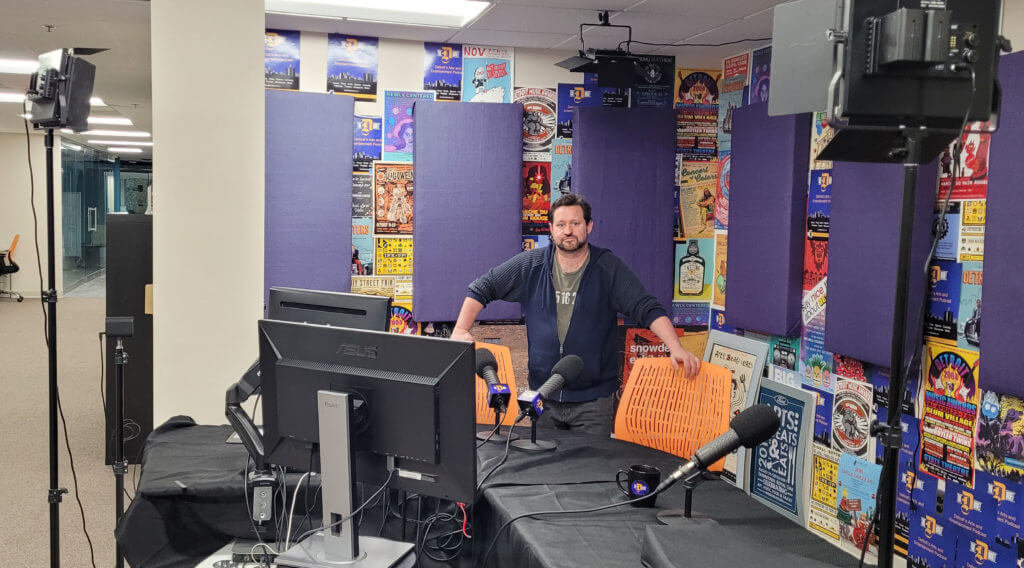
I covered the panels in purple burlap and hung them on the walls. To fill the gap between the panels, I asked Detroit event producers for leftover posters from their past events, which created a colorful display behind me.
I was already using the R0decater Pro for my podcast and it’s fantastic. It easily recreates the most important functionality of a radio studio board. When my podcast was audio only, it was the central component in my recording setup; I was using the R0decaster as a mixer and outputting a stereo file to minimize post-production editing.
However, now that I am producing videos, my computer is the central component, and I find myself using the R0decaster as an audio interface to bring sound into the computer. I could probably get away with a less expensive Focusrite Scarlett 2i2, as I now launch video bumpers from my computer instead of audio bumpers from the R0decaster.
My microphones are R0de Procasters. I also considered the Shure SM7B and the Electro-Voice RE320. I experimented with using lavalier mics, which would have been less visually intrusive, but I was never happy with the sound. (For remote recordings, I usually use an ATR2100, an ATR2005 or a Samson Q2U.)


3. The Computer & Software
When it came time to select software, I already knew that I wanted a program that lived on my computer, not a web-based app like StreamYard or BeLive. These are fine, easy-to-use tools for people who are looking to stream, but I wanted something that would give me more control and a more polished look.
That left me with three options: vMix, OBS or eCamm Live. I have been a faithful Mac user for decades and vMix is only available on Windows, so that option was eliminated. Ultimately, I settled on eCamm Live, in part because I found their active Facebook community to be very helpful.
In addition to eCamm Live, I also use an app called LoopBack, which allows me to route the audio from the R0decaster to eCamm Live and record the different microphones on different tracks.
I decided to purchase a dedicated computer for my studio. I have long been a fan of the Mac Mini, so when Apple brought it back after a long hiatus, it was a natural choice. However, if I had know that Apple was going to introduce the more powerful Mac Studio this year, I might have waited for it.
The final piece of hardware, which I cannot recommend strongly enough, is the Elgato Stream Deck, which allows me to assign functions to keys that I can press, much like I would fire things from the board in a radio studio. I opted for the 15-key Stream Deck, though if I were to go back in time, I would purchase the 32-button version. It’s an essential tool for me.


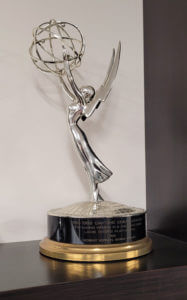
Bob’s Emmy
4. The Lighting
I had to teach myself the ins and outs of three-point lighting. It helps that the COO of our sister company jācapps, Bob Kernen, won a daytime Emmy for producing Lamp Chop’s Play-Along, and his office is less than 50 feet from my own. After picking his brain, I purchased a 3-pack of Neewer LED lights for the studio.
While the posters on the wall behind the interview desk made for an interesting backdrop, it could also be very busy. I solved this problem by purchasing some inexpensive colored flood lights and casting a purple glow on the walls, which provides a nice ambience.
Also, I started wearing foundation to reduce the glare on my skin.
Here’s an example of a video that I have been able to create with this studio:
Overall, I’m happy with the quality I have been able to get with this setup. All told, this television studio probably cost around $8,000. It’s not cheap for a sole podcaster, but a radio station should be able to build a video studio worthy of artist interviews, morning shows and client projects.
Have you built a video studio? If so, I’d love to hear how you did it. Leave a comment below.
For more assistance on digital or social media, contact MAB Member Services at mab@michmab.com or 1-800-968-7622.
Editor’s Note: The views and opinions of this article do not necessarily reflect those of the MAB. Contact the MAB for information on the MAB’s official editorial policy.
